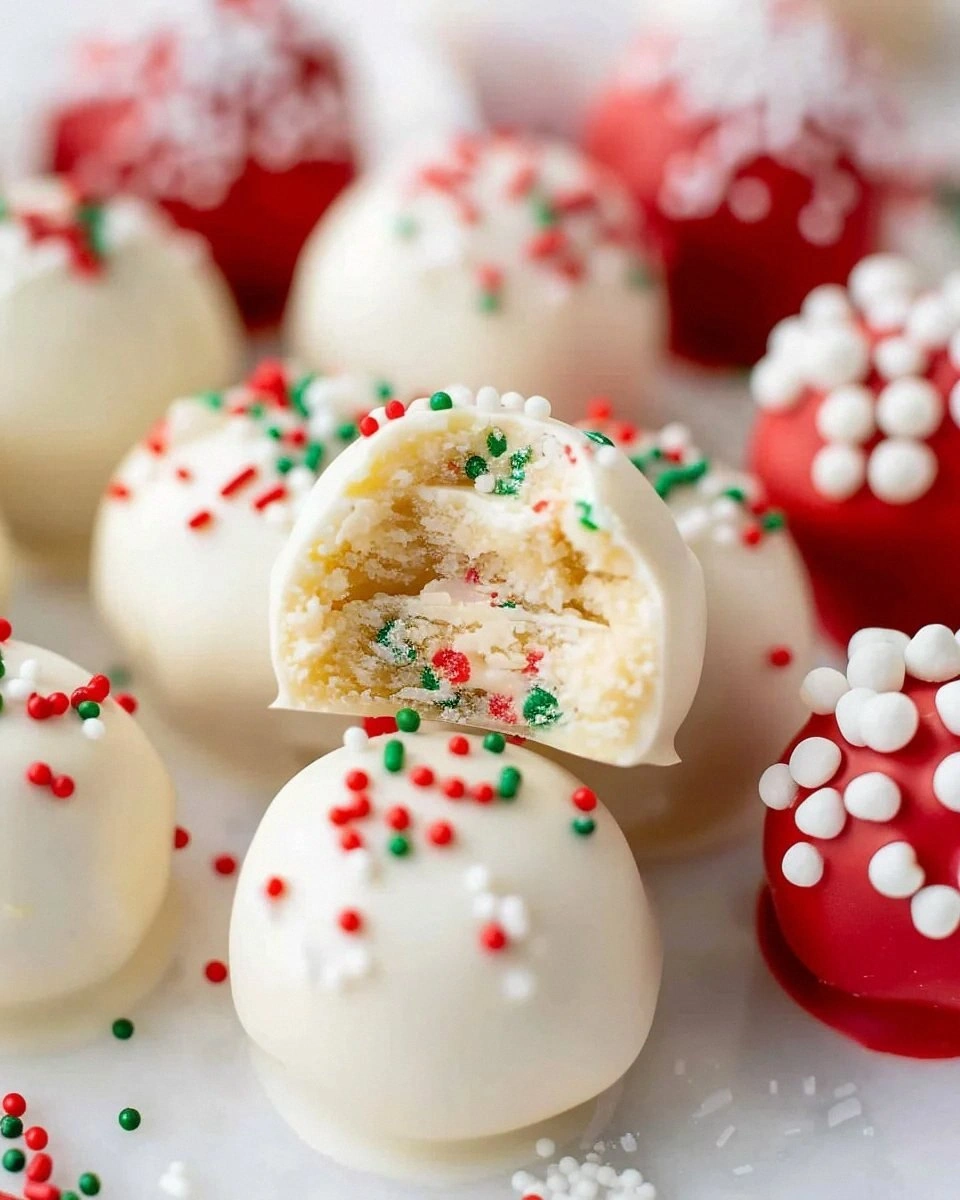
Picture this: I’m in the middle of a chaotic Saturday night, the kids have turned the kitchen into a miniature war zone, and my partner just dared me to create something that looks like a unicorn threw up a rainbow on a cookie sheet. I laughed, I stared at the empty pantry, and then I remembered that dusty box of flavored jelly powder I bought on a whim last month. That moment of desperation turned into the birth of what I’m about to share—a cookie that’s part candy, part confection, and all‑out joy. The first bite was like a fireworks display in my mouth, with bright, fruity bursts colliding against a buttery, crisp shell that practically sang “you’ve never tasted anything like this.” I’ll be honest — I ate half the batch before anyone else got a chance, and I’m still not over it.
The kitchen was alive with the sound of the mixer whirring, the scent of vanilla mingling with the sweet perfume of strawberry and orange jello powders, and the soft clink of sugar crystals hitting the wooden bowl. My fingertips felt the cool butter melt into the sugar, creating a silky paste that promised something extraordinary. As the dough formed, it turned a pastel hue that reminded me of a sunrise over a candy‑colored sea, and the anticipation built with every swirl of the rainbow‑infused batter. I could hear the faint sizzle of the oven preheating, a reminder that the magic was about to happen, and I could almost taste the crunchy sugar coating that would give each cookie that signature snap.
Why does this version stand out among the endless sea of sugar cookie recipes? Most of them are bland, plain, and forget to bring the party to the palate. This one, however, packs a punch of color, flavor, and texture that makes it impossible to ignore. The secret lies in the marriage of classic sugar cookie fundamentals with the vibrant, fruity punch of flavored jelly powder—a combo most recipes completely miss. Most recipes get this completely wrong. Here’s what actually works: the jelly powder isn’t just a colorant; it’s a flavor bomb that seeps into the dough, turning each bite into a mini celebration.
Let me walk you through every single step — by the end, you’ll wonder how you ever made it any other way. Okay, ready for the game‑changer? This next part? Pure magic. I dare you to taste this and not go back for seconds. Stay with me here — this is worth it.
What Makes This Version Stand Out
- Flavor Explosion: The flavored jelly powder injects real fruit essence, so each bite bursts with authentic strawberry, orange, or lime notes that dance on your tongue.
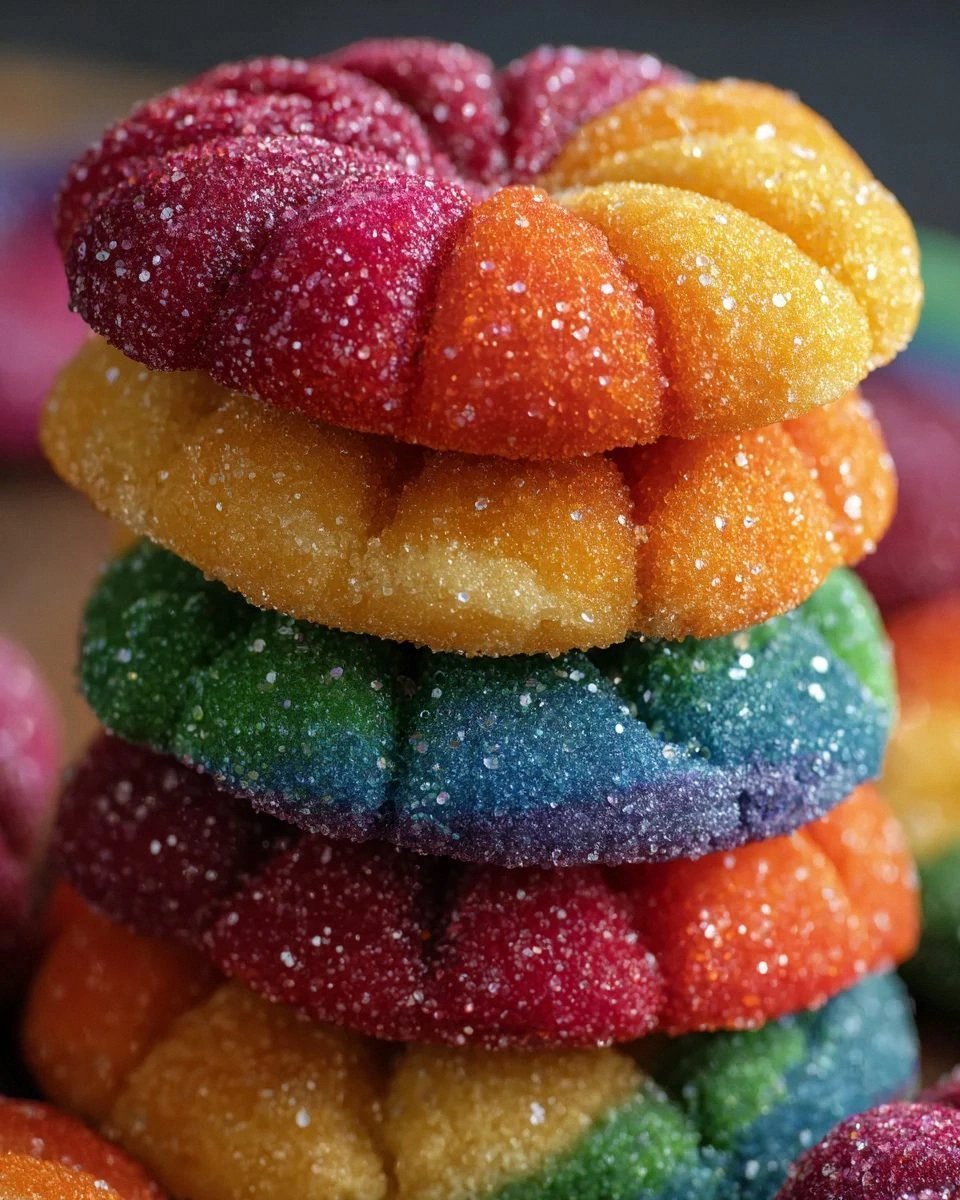
- Colorful Delight: A rainbow of dough swirls that looks as good as it tastes, making these cookies the star of any gathering or Instagram feed.
- Crisp‑Then‑Chewy: A delicate sugar crust gives a satisfying snap, while the interior stays soft, chewy, and buttery.
- Simplicity Meets Wow: Only ten ingredients, all pantry‑friendly, yet the result feels like a professional bakery’s special.
- Crowd‑Pleaser: Kids love the bright colors, adults appreciate the sophisticated fruit flavors, and everyone ends up reaching for more.
- Make‑Ahead Magic: The dough freezes beautifully, letting you prep weeks in advance and bake fresh whenever the mood strikes.
- Versatile Base: Use any flavor of jelly powder you like—think tropical, berry, or even a festive mix for holidays.
- Texture Control: Rolling the dough balls in granulated sugar creates a crunchy exterior that’s impossible to replicate with other methods.
Inside the Ingredient List
The Flavor Base
Unsalted butter: This brings richness and a soft texture. Ensure it’s softened for easy mixing, otherwise you’ll end up with clumps that fight the smoothness you crave. If you skip the butter or use margarine, the cookie will lose that buttery melt‑in‑your‑mouth feel and become dry. A good quality European butter with higher fat content will give you a silkier dough.
Granulated sugar (for dough): Provides sweetness and helps in achieving that lovely crisp outer layer. Sugar also aids in the Maillard reaction, giving the cookies a golden‑brown edge that smells like a bakery. If you replace it with brown sugar, you’ll get a deeper, caramel flavor but lose some of that clean snap.
Large egg: Acts as a binding agent, contributing to a soft and chewy interior in every cookie. The egg also adds a subtle richness that balances the bright jello flavors. Using a smaller egg will make the dough crumbly; a larger one can make it too wet.
Vanilla extract: Adds a warm, aromatic flavor that complements the fruity jello wonderfully. It’s the silent hero that ties the whole flavor profile together. If you’re out of vanilla, a splash of almond extract works but can overpower the delicate fruit notes.
The Texture Crew
All‑purpose flour: The base for our cookies, creating structure and stability. It absorbs the butter and sugar, forming a tender crumb that holds the jelly powder’s color and flavor. Swapping it for cake flour will make the cookies too delicate, while whole‑wheat will add a nutty taste and denser texture.
Baking soda: Helps the cookies rise and gives them that puffy shape we all love. It reacts with the acidic components of the jelly powder, creating tiny air pockets that keep the interior soft. Too much soda can give a metallic aftertaste; measure carefully.
Baking powder: Works alongside the baking soda for leavening and achieving a delicate crumb. It ensures the cookies don’t spread too thin, preserving that perfect thickness. If you omit it, the cookies will be flat and lack that subtle lift.
Fine salt: Just a pinch enhances flavors and balances the sweetness. Salt also strengthens the gluten network, giving the cookie a better bite. Skipping it will make the sweetness feel one‑dimensional.
The Unexpected Star
Flavored jelly powder: This is where the magic happens! It’s what makes your cookies bursting with flavor and color. Use assorted colors and flavors for a rainbow effect—think strawberry, orange, lime, blueberry, and grape. If you’re feeling adventurous, mix two flavors together for a swirl that surprises the palate.
The Final Flourish
Granulated sugar (for rolling): Coating the dough balls gives them a delightful crunch on the outside. The sugar crystals melt slightly during baking, forming a caramelized crust that shatters like thin ice when you bite. Skipping this step results in a smoother, less exciting texture.
Everything's prepped? Good. Let’s get into the real action…
The Method — Step by Step
- Preheat your oven to 350°F (175°C) and line two baking sheets with parchment paper. While the oven warms, gather all your ingredients and give the butter a quick visual check—soft but not melted. This temperature ensures even baking and prevents the cookies from spreading too fast. The kitchen will start to smell faintly of vanilla, a promising sign that things are on track.
- In a large mixing bowl, cream together the softened butter and 1 cup of granulated sugar until the mixture is light, fluffy, and pale yellow. This should take about 2‑3 minutes on medium speed; you’ll notice the texture turning from gritty to silky, like a smooth satin sheet. Kitchen Hack: Scrape down the sides of the bowl with a rubber spatula every 30 seconds to ensure every butter particle is fully incorporated.
- Add the egg and vanilla extract to the creamed butter‑sugar blend. Beat until just combined; you’ll see the mixture become smoother and a shade richer. The egg should be fully incorporated without creating a glossy film—if it does, you’ve over‑mixed, which can lead to a tougher cookie.
- In a separate bowl, whisk together the flour, baking soda, baking powder, and fine salt. This aerates the dry ingredients and prevents any pockets of leavening agents from forming. When you pour this dry mix into the wet mixture, do it in two additions, folding gently each time to keep the dough tender.
- Now for the show‑stopper: divide the dough into five equal portions and tint each with a different flavored jelly powder. Sprinkle 2 tablespoons of the chosen powder over each portion and fold until the color is uniform and the fragrance is unmistakable. Watch Out: Add the jelly powder gradually; dumping it all at once can create clumps that turn your dough into a speckled mess.
- Once each colored dough is uniformly tinted, roll them into 1‑inch balls. This is the moment where you can let your creativity shine—mix colors together for a marbled effect or keep them pure for a bold rainbow. Place the balls on the prepared baking sheets, leaving about 2 inches between each to allow for spreading.
- Before baking, roll each dough ball in a shallow dish of granulated sugar, coating it generously. The sugar will stick to the surface, creating a sparkling crust that caramelizes in the oven. Kitchen Hack: Use a fine‑mesh sieve to sprinkle sugar evenly; this prevents over‑coating and saves sugar.
- Slide the trays into the preheated oven and bake for 12‑15 minutes, or until the edges turn a light golden brown and the tops are set but still soft to the touch. You’ll hear a faint crackle as the sugar crust begins to harden—that’s the sound of perfection. Rotate the trays halfway through for even browning.
- Remove the cookies and let them cool on the baking sheet for 2 minutes before transferring them to a wire rack. This short rest lets the cookies firm up just enough to move without breaking, while the interior stays chewy. As they cool, the colors will settle into a glossy finish, and the aroma will fill the kitchen like a sweet sunrise.
That’s it — you did it. But hold on, I’ve got a few more tricks that'll take this to another level…
Insider Tricks for Flawless Results
The Temperature Rule Nobody Follows
Never bake these cookies straight from the fridge unless you’ve chilled the dough for at least 20 minutes. Cold dough spreads less, giving you a thicker, more tender center. I once tried skipping the chill, and the cookies turned into flat, sugar‑crusted discs—definitely not the rainbow masterpiece we’re after.
Why Your Nose Knows Best
Trust the scent, not the timer. When the edges start to smell toasty and you catch a faint caramel note, the cookies are ready to pull out. Over‑baking turns that delightful crunch into a hard, brittle bite that feels like chewing on a plastic toy.
The 5‑Minute Rest That Changes Everything
After baking, let the cookies rest on the rack for exactly five minutes before stacking them. This short pause lets the steam escape, preventing soggy bottoms and preserving that snap. If you skip this rest, the sugar coating can become sticky, ruining the texture.
Rolling in Sugar—The Sweet Science
Use superfine sugar for the coating if you want an ultra‑crisp crust. The smaller crystals melt faster, creating a glass‑like sheen. Coarse sugar gives you a crunchier, more pronounced bite, which some people love for contrast.
Flavor Layering with Multiple Jelly Powders
Mix two flavors together for a surprise burst—think strawberry‑lime or orange‑grape. The combined aromatics create a depth that single‑flavor cookies can’t match. I once tried a triple‑mix and ended up with a confusing flavor that didn’t sing; two is the sweet spot.
Creative Twists and Variations
This recipe is a playground. Here are some of my favorite ways to switch things up:
Chocolate‑Covered Delight
Dip half of each cooled cookie in melted dark chocolate and sprinkle a pinch of sea salt. The bitter chocolate balances the sweet fruit, and the salt amplifies the flavors. Perfect for a sophisticated after‑dinner treat.
Nutty Crunch
Before rolling the dough balls in sugar, roll them in finely chopped toasted almonds or pistachios. The nutty aroma adds a savory dimension, and the extra crunch contrasts beautifully with the soft interior.
Holiday Spice Version
Swap half of the vanilla extract for ground cinnamon and a dash of nutmeg. Use red and green jelly powders for a festive look. The spices turn the cookies into a cozy winter treat without losing the rainbow charm.
Gluten‑Free Adaptation
Replace the all‑purpose flour with a 1:1 gluten‑free flour blend that contains xanthan gum. The texture stays tender, and the colors remain vivid. Just be careful not to over‑mix, as gluten‑free dough can become gummy.
Mini Cookie Bites
Form the dough into bite‑size pearls (about ½ inch) and bake for 8‑10 minutes. These mini bites are perfect for party platters and make the rainbow effect even more pronounced. They also crisp up faster, giving you a quicker snack.
Storing and Bringing It Back to Life
Fridge Storage
Place the cooled cookies in an airtight container with a parchment paper layer between each level. They’ll stay fresh for up to 5 days. If you notice any loss of crunch, pop the container open for a few minutes to let moisture escape.
Freezer Friendly
Arrange the cookies on a baking sheet, freeze until solid (about 2 hours), then transfer to a zip‑top freezer bag. They’ll keep for up to 3 months. When you’re ready to enjoy, let them thaw at room temperature for 15 minutes, then give them a quick 2‑minute bake at 300°F to revive the crispness.
Best Reheating Method
Preheat the oven to 300°F, place the cookies on a parchment‑lined tray, and bake for 3‑4 minutes. Add a tiny splash of water (just a few drops) to the tray before heating; the steam will revive the interior softness while the exterior regains its snap.