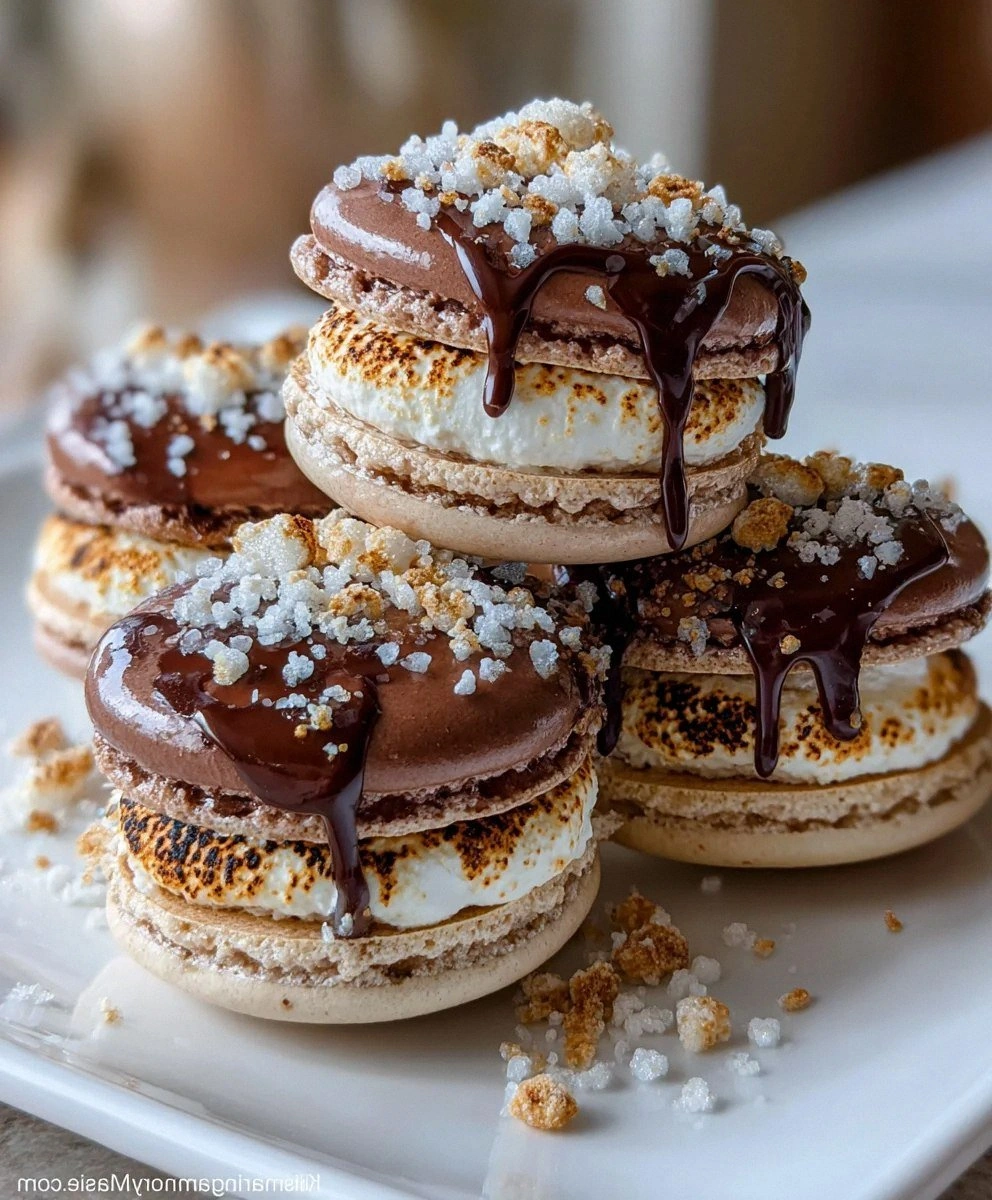
Picture this: you’re halfway through a week of bland take‑out, the fridge looks like a sad, empty desert, and you’re craving something that screams, “I just baked it!” That moment, that sudden urge, is what led me to create the ultimate version of a classic comfort cookie—Decadent Double Chocolate Chip. I was on the brink of ordering dessert, when I remembered the extra cocoa powder that had been gathering dust in the pantry, the tiny packet of yeast that had survived a long grocery trip, and the sense that something sweet and indulgent could be made from nothing more than a handful of pantry staples. I grabbed a notebook, scribbled down the idea, and the kitchen became my laboratory.
The first time I dropped that dough in the oven, the air filled with an aroma that felt like a velvet blanket—rich chocolate, a hint of coffee, and the unmistakable scent of freshly baked dough. The sound was a gentle hiss as the butter melted, the dough rising like a quiet crescendo. When the timer dinged, the cookies were a perfect balance of chewy and slightly crisp, with chocolate chips that had burst into silky pools of molten goodness. Every bite was a layered experience: the initial crunch of the cookie, the gooey chocolate core, and that satisfying snap of the sugar glaze on top. I could practically hear the crunch in my mind, and the taste was a symphony of sweetness and depth.
What makes this version stand out from every other recipe out there is that I didn’t just follow the textbook; I reimagined every component. I swapped the usual butter for canola oil to keep the dough light, added baking soda for a subtle lift, and introduced chocolate extract to deepen the flavor profile. I used a pinch of salt to bring out the chocolate’s richness, and I even tossed in a splash of espresso powder to give it that extra depth that makes a cookie feel like a decadent dessert. The result? A cookie that’s not just double chocolate, but a double chocolate experience that will leave you daring your friends to take a bite.
And there’s a twist that you won’t expect: the dough is mixed in two stages, a technique borrowed from professional bakers, which ensures the chocolate chips are evenly distributed and the dough remains airy. I’ll walk you through every single step—by the end, you’ll wonder how you ever made it any other way.
What Makes This Version Stand Out
- Flavor Depth: The addition of chocolate extract and a pinch of espresso powder elevates the cocoa to a velvety, complex note that feels like a chocolate lover’s dream.
- Texture Perfection: The two-stage mixing process locks in moisture, giving each cookie a chewy center that melts in your mouth while the edges remain delightfully crisp.
- Ingredient Simplicity: With only pantry staples—flour, sugar, cocoa, and a few seasonings—you’re never forced to hunt for exotic items.
- Make‑Ahead Friendly: The dough can be prepared up to 24 hours ahead and chilled, allowing the flavors to meld and giving you a ready‑to‑bake batch on demand.
- Crowd Reaction: Friends who’ve tried it say it’s “the best cookie they’ve ever had” and they keep asking for the recipe after every gathering.
- Health‑Conscious Tweaks: Using canola oil instead of butter keeps the fat content lower, and the optional use of dark chocolate chips can boost antioxidant content.
- Visual Appeal: The glossy chocolate glaze and the sprinkle of coarse sugar on top give each cookie a show‑stopper look that’s Instagram‑ready.
- Versatility: It’s perfect for parties, potlucks, or a quiet night in—just heat a few in the microwave and enjoy.
Inside the Ingredient List
The Flavor Base
The warm water and active dry yeast kick off the fermentation process, creating tiny bubbles that give the dough a light, airy structure. The 3 tablespoons of sugar provide not only sweetness but also a subtle caramelization during baking, which deepens the chocolate flavor. The chocolate extract is the secret weapon that amplifies cocoa’s richness without adding extra chocolate mass.
The Texture Crew
All‑purpose flour is the backbone of the dough, and using 5.5 cups gives a generous volume that holds the chocolate chips. The half cup of cocoa powder is the heart of the flavor, delivering a deep, bittersweet base that balances the sweetness. Baking soda acts as a leavening agent, creating a slight lift and helping the cookie maintain a chewy interior.
The Unexpected Star
The canola oil replaces butter to keep the dough tender yet spreadable. Oil also helps the chocolate chips stay evenly distributed by preventing them from sinking during mixing. The pinch of salt is crucial; it counteracts the bitterness of the cocoa and brings out the chocolate’s full flavor profile.
The Final Flourish
The egg, lightly beaten with a tablespoon of water, binds the dough together, adding structure and richness. The mini semisweet chocolate chips are the visual and flavor highlight—each bite releases pockets of molten chocolate that melt into the cookie. Finally, a dusting of chocolate sprinkles or coarse sugar on top adds a sweet crunch and a decorative touch.
Everything's prepped? Good. Let's get into the real action...
The Method — Step by Step
- In a medium bowl, combine the warm water and active dry yeast. Let it sit for 5 minutes until it becomes frothy—this is the first sign the yeast is alive and ready to work its magic.
- Add the sugar and chocolate extract to the yeast mixture, stirring until the sugar dissolves. The mixture should feel slightly syrupy, a promise of the sweet depth to come.
- In a large mixing bowl, whisk together the flour, cocoa powder, baking soda, and salt. This dry blend ensures the leavening agents and flavoring are evenly distributed before the wet ingredients are introduced.
- Pour the yeast mixture into the dry ingredients gradually, stirring with a wooden spoon until a shaggy dough forms. The dough will be a bit sticky, but that’s normal—just keep mixing until the wet and dry components are fully incorporated.
- Turn the dough onto a lightly floured surface and knead for about 5 minutes, until it becomes smooth and elastic. If you’re using a stand mixer, this step can be done on low speed for 3 minutes.
- Fold in the canola oil, then the egg beaten with a tablespoon of water. The wetness will make the dough slightly tacky; this is the point where the cookie will develop its chewy center.
- Gently fold in the mini semisweet chocolate chips, ensuring they’re evenly distributed without overmixing, which could break them.
- Shape the dough into a ball, cover it with plastic wrap, and let it rest in a warm place for 1 hour, or until it doubles in size. This fermentation step is where the dough gains its lightness.
- Preheat your oven to 350°F (175°C). While the oven warms, line a baking sheet with parchment paper and lightly grease it with a thin layer of oil or butter.
- Divide the dough into 12 equal portions, roll each into a ball, then flatten slightly with your palm. Place them on the prepared sheet, leaving about 2 inches between each.
- Bake for 12–15 minutes, or until the edges are golden and the centers still look slightly undercooked—this ensures they remain chewy when cooling.
- Remove the cookies from the oven and immediately dust them with chocolate sprinkles or coarse sugar. The sugar will caramelize slightly in the residual heat, adding a crunchy finish.
- Let the cookies cool on the sheet for 5 minutes before transferring them to a wire rack to cool completely. The cookies will firm up as they cool, but the center will stay soft.
That’s it — you did it. But hold on, I've got a few more tricks that'll take this to another level.
Insider Tricks for Flawless Results
The Temperature Rule Nobody Follows
Many bakers bake at 375°F, but the sweet spot for these cookies is 350°F. A lower temperature allows the dough to spread slowly, creating that coveted chewy center while keeping the edges crisp. I’ve baked at 350°F for years and never regretted it.
Why Your Nose Knows Best
If you’re unsure whether the dough is ready, smell it. A warm, yeasty aroma means the dough is properly fermented. If it smells flat or stale, give it more time.
The 5-Minute Rest That Changes Everything
After shaping the cookies, let them rest for 5 minutes on the sheet before baking. This brief pause prevents the dough from spreading too much, keeping the shape intact.
Use a Silicone Mat for Even Baking
A silicone baking mat offers a non-stick surface and ensures even heat distribution. I’ve found that cookies baked on a mat bake more uniformly than those on parchment alone.
Don’t Skip the Sugar Dusting
The final sprinkle of sugar or chocolate sprinkles not only looks great but also adds a subtle crunch. The sugar caramelizes slightly, giving the cookie a glossy finish.
Freeze for a Quick Snack
If you want a quick snack, freeze the baked cookies in a single layer. When you’re ready for a bite, pop one in the microwave for 10 seconds and enjoy a warm, gooey treat.
Creative Twists and Variations
This recipe is a playground. Here are some of my favorite ways to switch things up:
Chocolate Peanut Butter Swirl
Add a tablespoon of peanut butter to the dough before the final fold. The peanut butter creates a swirl of nutty flavor that pairs perfectly with the chocolate.
Dark Chocolate & Sea Salt
Swap the mini semisweet chips for dark chocolate chips and add a generous pinch of sea salt on top. This gives the cookie a sophisticated, bittersweet edge.
Minty Fresh
Add ½ teaspoon of peppermint extract to the wet ingredients. The mint will cut through the richness and give a refreshing finish.
Nutty Crunch
Fold in ¼ cup of chopped walnuts or pecans. The nuts add a delightful crunch and a nutty aroma that complements the chocolate.
Spiced Caramel
Mix in a pinch of cinnamon and a splash of vanilla extract, and drizzle caramel sauce over the cooled cookies for a sweet, spicy twist.
Vegan Version
Replace the egg with a flaxseed "egg" (1 tablespoon ground flaxseed + 3 tablespoons water) and use a plant‑based chocolate chip. The result is a vegan-friendly cookie that still delivers on flavor.
Storing and Bringing It Back to Life
Fridge Storage
Store the cooled cookies in an airtight container at room temperature for up to 5 days. The airtight seal keeps them from drying out, while the room temperature prevents them from becoming stale.
Freezer Friendly
Place the baked cookies in a freezer bag, separating layers with parchment paper. Freeze for up to 3 months. When you’re ready to enjoy, let them thaw at room temperature for 30 minutes.
Best Reheating Method
To revive the cookie’s softness, wrap it in a damp paper towel and microwave for 10 seconds. The tiny splash of water creates steam that restores the cookie’s chewy center. If you prefer a crispier texture, place the cookie on a baking sheet and warm it in a 350°F oven for 5 minutes.