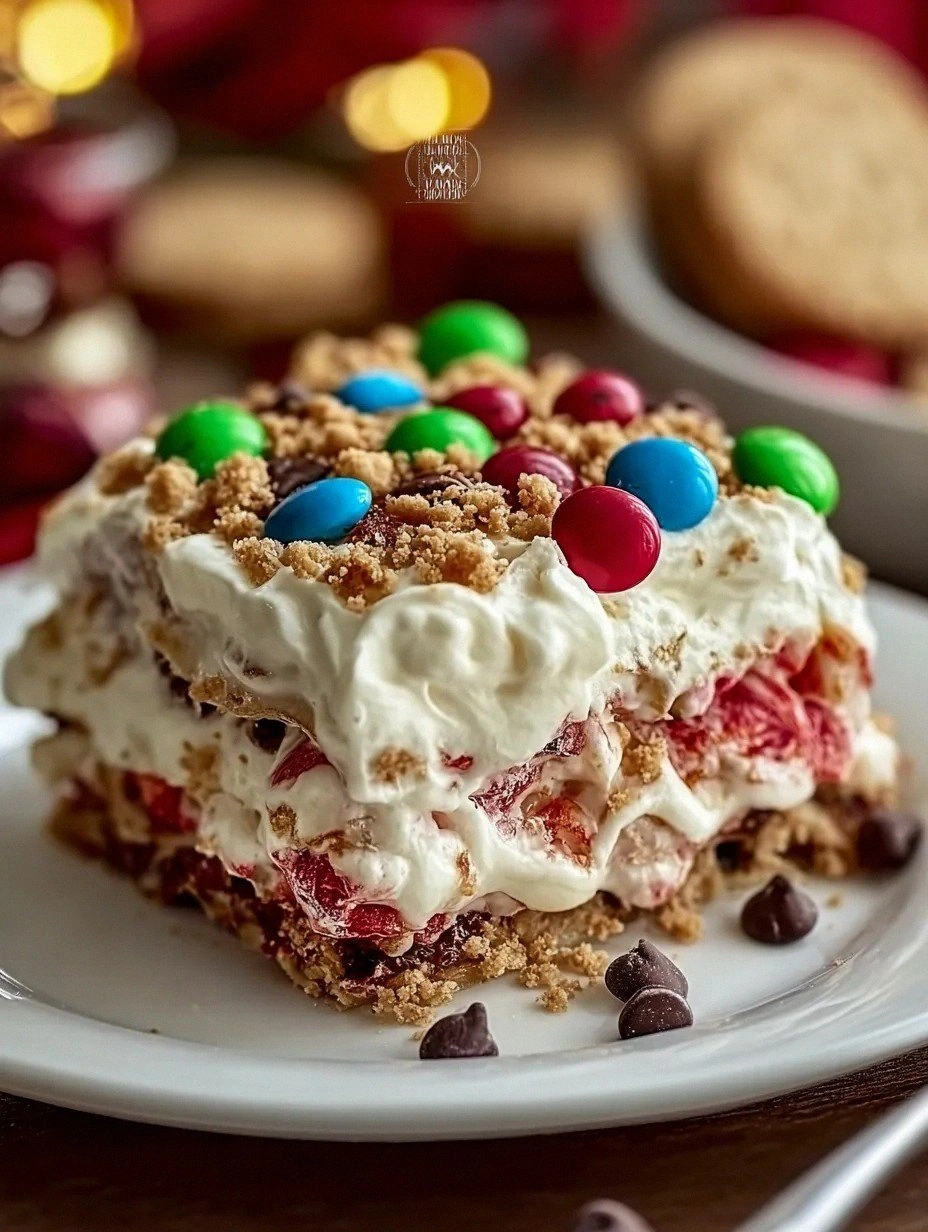
I was staring at a crumbling batch of sponge that had turned into a soggy, brown pancake, and I realized that my kitchen had just become a disaster zone. The scent of burnt sugar wafted through the air, the sound of my own sighs echoed off the walls, and my taste buds were screaming for redemption. I was about to throw the batter in the trash when a friend dared me to try a recipe that promised “effortless all‑in‑one delight” and claimed it would outshine every other Victoria sponge I've ever baked. I laughed, but the challenge was irresistible. That moment was the spark that turned a failed attempt into a culinary revelation.
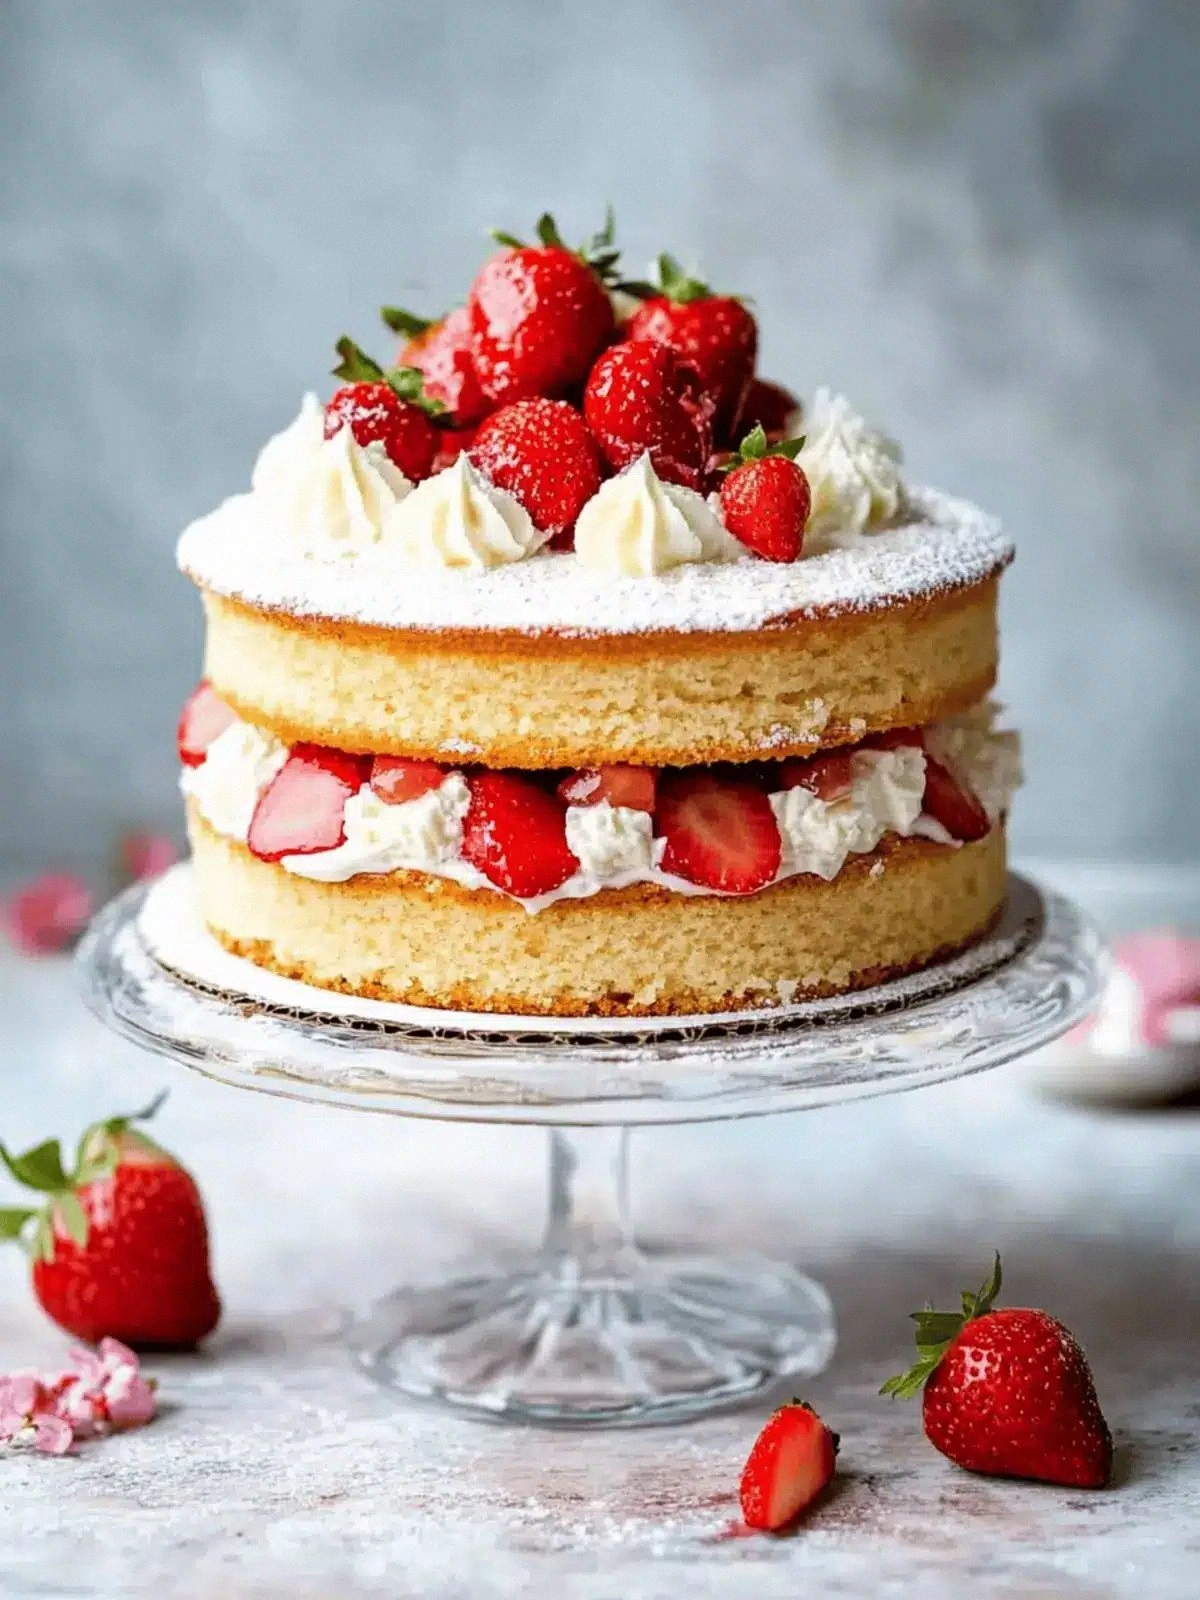
Picture this: a golden dome rising from the oven, the air thick with the buttery aroma of freshly baked cake, the subtle sweetness of caster sugar mingling with vanilla, and the faint pop of butter melting into the batter. You can feel the heat radiating from the pan, hear the gentle crackle as the edges begin to set, and taste the first bite—light, airy, with a whisper of crispness that makes the inside melt like a cloud. The texture is a delicate balance between a sponge’s fluffiness and a cake’s structure, a paradox that satisfies both the palate and the soul. If you’ve ever tasted a sponge that feels like a cloud on a spoon, you’ll know it’s a game‑changer. And if you haven’t, this is the moment you’ll realize how wrong you were.
Why does this version stand out? Because it strips away the noise and delivers pure, honest flavor. The batter is built on a foundation of self‑raising flour and caster sugar, giving it a lightness that feels almost magical. The inclusion of both butter and baking spread ensures a moist crumb without the heaviness of traditional butter‑only recipes. The jam is tucked neatly between two layers of sponge, creating a burst of fruit that complements the vanilla without overpowering it. The finishing touch is a dusting of icing sugar that glistens like sugar crystals in the morning sun. All of this comes together in under an hour, making it a practical choice for busy evenings or special occasions alike. I dare you to taste this and not go back for seconds.
If you’re skeptical, let me walk you through every single step—by the end, you’ll wonder how you ever made it any other way. This recipe is hands down the best version you'll ever make at home. It’s not just a cake; it’s an experience, a conversation starter, and a testament to the power of simplicity. So, grab your apron, and let’s dive into the world of Mary Berry Victoria Sponge: Ef.
What Makes This Version Stand Out
- Texture: The combination of self‑raising flour and baking powder gives the sponge a light, airy rise, while the butter and spread keep it moist. This contrast creates a mouthfeel that feels like a cloud on a spoon.
- Flavor: The use of caster sugar, rather than granulated, adds a subtle caramel undertone. Vanilla extract is folded in at the very end, preserving its aromatic quality.
- Simplicity: Only ten ingredients, all of which are pantry staples. No need to chase exotic spices or obscure leavening agents.
- Time Efficiency: The entire process, from prep to bake, takes just 45 minutes, making it perfect for last‑minute celebrations.
- Versatility: The jam layer can be swapped for apricot, lemon curd, or even chocolate ganache, allowing you to tailor the flavor profile.
- Crowd‑Pleaser: Guests will rave about the delicate crumb and the burst of fruit, and they’ll ask for the recipe before they even finish the plate.
- Make‑Ahead Potential: You can bake the sponge in advance, store it in the fridge, and assemble on the day of service, saving you last‑minute stress.
Inside the Ingredient List
The Flavor Base
Caster sugar is the cornerstone of this sponge’s sweetness. Its fine crystals dissolve quickly, preventing a gritty texture that can mar the delicate crumb. If you’re in a pinch, a pinch of sea salt can balance the sweetness, but be careful not to overdo it. Skipping sugar will leave you with a bland batter that lacks the caramel depth this recipe thrives on.
The Texture Crew
Self‑raising flour and baking powder work in tandem to create lift. The flour provides structure, while the baking powder offers a controlled rise. If you substitute all-purpose flour, you’ll need to add an extra pinch of baking powder to achieve the same fluffiness. This duo is essential; without it, the sponge would collapse into a dense, heavy cake.
The Unexpected Star
Stork Baking Spread or unsalted butter is the secret to that buttery, melt‑in‑your‑mouth crumb. The spread’s lower melting point means the batter remains airy, while the butter adds depth of flavor. If you’re vegan, a high‑quality plant‑based butter can replicate this effect, but the taste will be slightly different. The key is to keep the butter at room temperature—softened but not melted.
The Final Flourish
Fresh berries and a generous drizzle of double cream transform the sponge from ordinary to extraordinary. The berries add a burst of color and natural tartness, cutting through the sweetness. Double cream thickens the jam layer, giving it a velvety texture that clings to the sponge. If you prefer a lighter finish, replace the double cream with a splash of milk and a tablespoon of sugar.
Everything’s prepped? Good. Let’s get into the real action.
The Method — Step by Step
- Preheat your oven to 180 °C (350 °F). Line two 20 cm (8 in) round cake tins with parchment paper and grease the rims lightly with butter. This ensures a clean release and a professional finish. As the oven heats, you’ll hear the gentle hiss of the air conditioning, a reminder that patience is key.
- In a large mixing bowl, sift together the 8 oz self‑raising flour, 8 oz caster sugar, 1 tsp baking powder, and a pinch of sea salt. Sifting removes lumps and aerates the flour, which is essential for that cloud‑like rise. The rhythm of the sifting creates a satisfying clatter that’s oddly calming.
- Beat the 4 large eggs in a separate bowl until pale and frothy. This usually takes about 2–3 minutes with an electric whisk. The eggs are the glue that holds the batter together, and the lightness you achieve here is the difference between a dense cake and a heavenly sponge.
- In a small saucepan, melt the 8 oz Stork Baking Spread or unsalted butter over low heat. Once melted, stir in the 1 tsp vanilla extract until fragrant. The vanilla should perfume the kitchen like a sweet perfume, and the butter should be silky smooth.
- Combine the wet and dry ingredients. Pour the melted butter mixture into the flour mixture, then add the beaten eggs. Fold gently with a spatula, being careful not to deflate the batter. The batter should be thick but pourable, with a glossy sheen that reflects the kitchen lights.
- Watch Out: Overmixing can cause the gluten to develop, leading to a tough crumb. Stop folding as soon as the ingredients are just combined. The batter should look like a thick, creamy cloud.
- Divide the batter evenly between the prepared tins. Tap the tins gently on the counter to release air bubbles. The batter should rise to the top of the tins, forming a smooth dome. This step is crucial for an even bake.
- Bake for 25–28 minutes, or until a skewer inserted into the center comes out clean. As the sponge bakes, you’ll notice a golden hue spreading across the surface. The aroma will start to mingle with the buttery scent, creating a heady perfume that signals the cake is almost done.
- Let the cakes cool in the tins for 5 minutes, then transfer them to a wire rack to cool completely. This cooling period allows the steam to escape, preventing a soggy bottom. Once cooled, spread the 6 oz jam evenly over one cake layer, then top with the second layer.
- Finish by brushing the top with softened 8 oz unsalted butter, then dust generously with 3 oz icing sugar. If you like a touch of decadence, drizzle 2 oz double cream over the top. Finally, arrange fresh berries on the sides for a burst of color and freshness.
That’s it — you did it. But hold on, I've got a few more tricks that'll take this to another level. The next section is your secret weapon for flawless results.
Insider Tricks for Flawless Results
The Temperature Rule Nobody Follows
Many bakers keep the oven at a constant temperature, but a slight dip in the first 10 minutes can prevent the sponge from over‑browning. After the initial 10 minutes, allow the oven to rise to 180 °C (350 °F) and maintain it. This subtle temperature shift keeps the interior moist while the exterior develops that perfect golden crust.
Why Your Nose Knows Best
Smell the batter before baking. If it smells sweet and buttery, it’s ready. If there’s a hint of raw flour or an off note, let it sit for a few minutes longer; the batter will settle and develop its full aroma. Trust your nose—it's the unsung hero of baking.
The 5‑Minute Rest That Changes Everything
After the batter is divided into tins, let it rest for 5 minutes before baking. This pause allows the gluten to relax, ensuring a tender crumb. Skipping this step often leads to a slightly denser texture.
The Butter Tempering Trick
When melting the butter, keep the heat low. High heat can scorch the butter, giving the sponge a bitter aftertaste. A gentle melt preserves the buttery flavor and keeps the batter silky.
The Jam Layer Secret
Spread the jam at room temperature; if it’s too cold, it will harden and create a barrier that prevents the sponge from absorbing the fruit’s moisture. Warm jam blends seamlessly into the sponge, giving a unified flavor profile.
Creative Twists and Variations
This recipe is a playground. Here are some of my favorite ways to switch things up:
Chocolate‑Infused Delight
Add 2 oz of melted dark chocolate to the batter for a rich, mocha flavor. The chocolate pairs beautifully with the vanilla, creating a decadent double‑layered sponge.
Citrus Burst
Swap the raspberry jam for lemon curd and zest a lemon into the batter. The bright citrus will cut through the sweetness and add a refreshing zing.
Nutty Twist
Fold 1 oz of chopped toasted almonds into the batter. The crunch adds texture, while the nutty flavor complements the buttery base.
Minty Fresh
Add a handful of fresh mint leaves to the batter, finely chopped. The mint provides a subtle cooling effect that balances the sweetness.
Spiced Elegance
Sprinkle a pinch of ground cinnamon and nutmeg into the dry mix. The warm spices give the sponge an autumnal feel, perfect for fall gatherings.
Caramel Swirl
Drizzle 2 oz of caramel sauce into the batter before baking. The caramel creates a glossy, sweet swirl that’s visually stunning.
Storing and Bringing It Back to Life
Fridge Storage
Store the assembled sponge in an airtight container in the fridge for up to 3 days. The butter and cream layers keep the sponge moist, preventing it from drying out. When you’re ready to serve, let it sit at room temperature for 30 minutes to restore its airy texture.
Freezer Friendly
Wrap each cake layer individually in parchment and then in plastic wrap before freezing. The sponge can be stored for up to 2 months. Thaw overnight in the fridge and allow to warm to room temperature before assembling.
Best Reheating Method
If you need to warm the sponge, place it on a baking sheet and heat at 150 °C (300 °F) for 10 minutes. Add a tiny splash of water to the bottom of the pan; the steam will help restore moisture without drying out the butter. Let it cool slightly before topping with fresh berries.