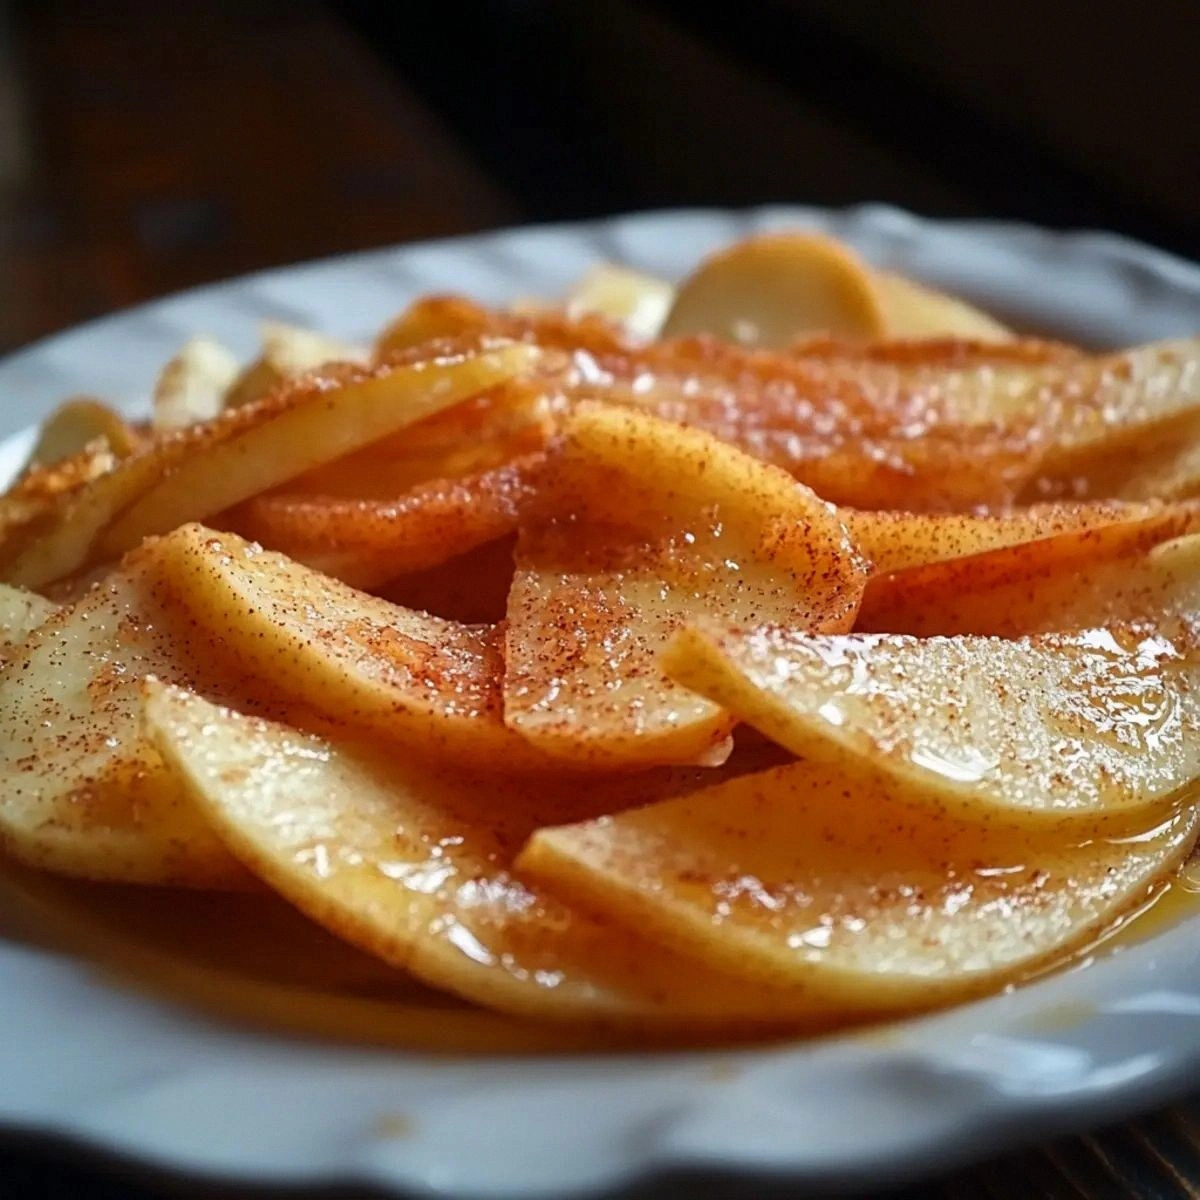
I was standing in my kitchen, halfway through a batch of burnt brownies, when a neighbor called to complain about the smell of something sweet wafting through the air. I had just tossed a handful of sliced apples into a pan, the scent of honey and cinnamon already bubbling up. That moment felt like a culinary epiphany: a simple apple could become a show‑stopper if treated with the right glaze and heat. I dared myself to turn that accidental aroma into a recipe that would make every kitchen feel like a bakery. By the end of the night, I had a dish that would earn the title “Irresistibly Crispy Honey Cinn.”
The first bite was a revelation. The honey caramelized into a golden glaze that clung to each apple slice like a sweet, sticky coat, while the cinnamon added a warm, spicy undertone that lifted the fruit’s natural tartness. The butter in the pan created a crisp edge that shattered like thin ice when you took a bite, releasing a burst of buttery flavor that danced across the palate. The lemon juice, a tiny splash, cut through the richness and brightened the overall profile, preventing the dish from feeling cloying. The result was a harmony of textures—soft, juicy inside, crisp, caramelized outside—that made the dish feel both indulgent and wholesome. I was instantly convinced that this was hands down the best version you'll ever make at home.
Picture yourself pulling this out of the oven, the whole kitchen smelling incredible, the air thick with the sweet, nutty aroma of honey and cinnamon. The sizzling sound as the apples hit the pan is absolute perfection, a promise of the crispness to come. I’ve seen so many recipes that try to mimic this effect but fall short; most get this completely wrong by using too much liquid or not enough heat. If you've ever struggled with getting a caramel glaze that stays on the fruit, you're not alone—and I've got the fix. This recipe is the antidote to soggy, unevenly cooked apple slices.
There is a hidden magic in the combination of honey, butter, and a pinch of salt that I discovered during a late‑night experiment. The honey’s natural sugars caramelize at a lower temperature than refined sugar, giving the apple slices a glossy finish without burning. The butter’s fat content creates a barrier that keeps the apple slices from releasing moisture too quickly, preserving the crunch. The pinch of salt balances the sweetness and enhances every other flavor. I dare you to taste this and not go back for seconds. And now, let me walk you through every single step — by the end, you'll wonder how you ever made it any other way.
What Makes This Version Stand Out
- Flavor: The honey caramelizes into a deep amber glaze that coats each slice, while cinnamon adds a warm, aromatic depth that lingers on the tongue. The lemon juice cuts through the sweetness, giving the dish a bright, refreshing finish.
- Texture: The butter creates a crisp, golden edge that shatters with a satisfying crunch, contrasting beautifully with the soft, juicy interior. This duality of textures keeps every bite exciting.
- Ingredient Quality: Using fresh, firm apples ensures the slices hold their shape during cooking, preventing mushiness. A high‑quality honey with a robust floral note adds complexity to the glaze.
- Heat Control: Cooking the apples over medium heat allows the sugars to caramelize slowly, preventing burning while achieving a glossy finish. This precise temperature management is key to the dish’s success.
- Time Efficiency: The entire process takes less than an hour, making it a quick dessert that doesn’t sacrifice flavor. It’s ideal for a weekday treat or a last‑minute party snack.
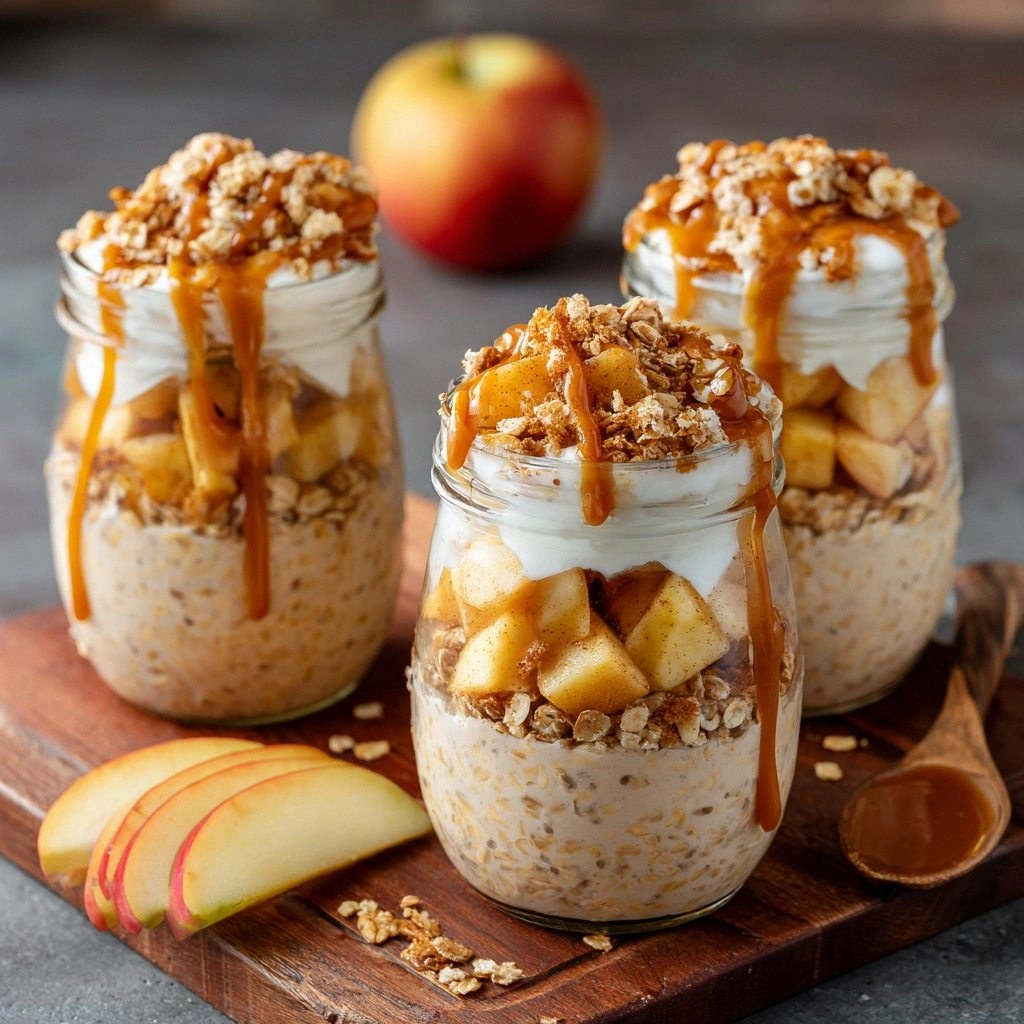
- Versatility: The recipe works beautifully as a side dish, dessert, or breakfast topping. It pairs wonderfully with vanilla ice cream, yogurt, or a drizzle of maple syrup.
- Make‑Ahead Potential: The glazed slices can be prepared ahead of time and reheated in a skillet or oven, retaining their crispness and flavor. This makes it a great option for entertaining.
- Audience Appeal: The dish is kid‑friendly, adult‑savvy, and satisfies both sweet and savory cravings, making it a crowd‑pleaser at any gathering.
Alright, let's break down exactly what goes into this masterpiece...
Inside the Ingredient List
The Flavor Base
Honey is the star of this dish, acting as the sweetener, binder, and glaze. Its natural sugars caramelize at a lower temperature than refined sugar, producing a glossy finish without burning. If you skip honey, the glaze will be watery and the apples will lose their signature caramelization. For a slightly different flavor profile, try using maple syrup or agave nectar, but keep in mind the color and sweetness level will change. When selecting honey, look for a robust, floral variety like buckwheat or wildflower to add depth.
The Texture Crew
Butter is essential for achieving the coveted crisp edges. It melts into a buttery sauce that coats each slice, creating a barrier that keeps the apple's moisture from escaping too quickly. Skipping butter will leave the apples soggy and less golden. If you’re vegan, a plant‑based butter works fine, but the flavor will be slightly different. A pinch of salt is added to balance the sweetness and enhance the overall flavor profile.
The Unexpected Star
Lemon juice is a subtle but powerful ingredient that cuts through the richness of honey and butter. It brightens the dish, preventing it from feeling overly sweet or heavy. If you don't have lemon juice on hand, a splash of apple cider vinegar can substitute, but adjust the quantity to avoid acidity overpowering the apple's natural flavor. The acidity also helps the apple slices maintain their firmness during cooking.
The Final Flourish
Brown sugar adds a subtle molasses note and a hint of chewiness to the glaze. It also deepens the caramel color, making the dish visually appealing. If you prefer a lighter glaze, substitute with white sugar or a sugar‑free sweetener, but remember the texture will change. A pinch of cinnamon, the backbone of this dish, infuses warmth and complexity, tying all flavors together. The combination of these ingredients creates a harmonious balance between sweet, savory, and aromatic.
Everything's prepped? Good. Let's get into the real action...
The Method — Step by Step
- Prep the apples: Wash and core the apples, then slice them into 1/4‑inch thick rounds. Arrange the slices on a cutting board, ensuring they are uniform for even cooking. This uniformity guarantees each slice caramelizes at the same rate, preventing some from burning while others remain raw. Pat the slices dry with a paper towel to remove excess moisture, which helps the glaze adhere better. This step is crucial for achieving that perfect crisp edge.
- Heat the skillet: Place a large, heavy‑bottom skillet over medium heat and let it preheat for a minute. Add the butter, letting it melt until it starts to foam but not brown. The butter’s foam indicates it’s ready to create a glossy coating. If you use a non‑stick pan, you can reduce the butter slightly to prevent excess oil. Keep a close eye on the temperature; you want a gentle sizzle, not a roar.
- Add the apples: Lay the apple slices in a single layer in the skillet, making sure they don’t overlap. This ensures even contact with the hot surface. If you have a large skillet, you can do this in batches, but remember to let the pan heat back up before adding more slices. The first batch should start to brown on the bottom within 2–3 minutes. Flip each slice with a spatula, then let the other side cook for an additional 2 minutes.
- Introduce the glaze: While the apples are browning, combine honey, brown sugar, cinnamon, and lemon juice in a small bowl. Stir until the sugar dissolves and the mixture is smooth. This glaze will coat the apples and create the caramelized finish. Once the apples are browned, pour the glaze over them, ensuring each slice is coated evenly. The glaze will bubble slightly, indicating the sugars are caramelizing.
- Simmer and caramelize: Reduce the heat to medium‑low and let the glaze thicken, stirring occasionally to prevent sticking. The glaze should become syrupy and glossy, coating the apples like a glossy coat. The apple slices will start to steam, helping them cook through without drying out. Watch for the glaze to reach a deep amber color; this signals the caramelization is complete. If the glaze thickens too quickly, lower the heat slightly.
- Finish the caramelization: Once the glaze has thickened, increase the heat to medium for the final 30 seconds. This quick burst of heat will give the glaze a glossy shine and the apple edges a crisp finish. Be careful not to burn the glaze; a quick flip of the skillet can help distribute heat evenly. The final result should be a glossy, caramelized coating with crisp edges that crackle when bitten into.
- Serve immediately: Remove the skillet from heat and transfer the apple slices to a serving platter. The slices will still be hot and the glaze will be at its most luscious. If you’re serving a crowd, keep the platter warm by covering it with foil. A drizzle of extra honey or a sprinkle of cinnamon can add an extra layer of flavor. This dish is best enjoyed hot for maximum crunch.
- Optional: Add a crumble topping: For an extra crunch, sprinkle toasted almond slivers or chopped pecans over the top. The nuts add a nutty flavor that complements the honey and cinnamon. Toast the nuts in a dry pan until fragrant before sprinkling. This step is optional but highly recommended for those who love a bit of texture.
That's it — you did it. But hold on, I've got a few more tricks that'll take this to another level...
Insider Tricks for Flawless Results
The Temperature Rule Nobody Follows
Many cooks start cooking apples on high heat, which often leads to uneven caramelization. The trick is to start on medium and then dial it down to medium‑low once the apples are in the pan. This slow approach allows the sugars to caramelize gently, giving a deeper color and richer flavor. I once tried the high‑heat method and ended up with a sticky mess that tasted like burnt sugar. Keep the heat steady, and the glaze will coat each slice like a glossy coat.
Why Your Nose Knows Best
Before you flip the apples, listen for that sweet, caramelizing scent that signals the sugars are ready. Your nose can detect the perfect moment when the glaze thickens just enough to coat the fruit without burning. If you’re unsure, take a quick sniff; if it smells like toasted sugar, it’s time to flip. This sensory checkpoint saves you from overcooking and ensures the apple slices stay juicy inside.
The 5‑Minute Rest That Changes Everything
After cooking, let the apple slices rest on a paper towel for 5 minutes. This rest period allows the glaze to set and the steam to escape, preserving the crisp edges. If you serve them immediately, the steam will soften the crunch, making the dish soggy. The rest also lets the flavors meld, giving each bite a balanced sweetness. Trust me, a quick rest is the secret to a perfect finish.
Use a Heavy‑Bottom Skillet for Even Heat
A heavy‑bottom skillet distributes heat evenly, preventing hot spots that can burn the glaze. Stainless steel or cast iron pans are ideal. If you’re using a non‑stick pan, consider adding a splash of oil to help with heat distribution. I’ve found that a heavy pan keeps the caramelization process consistent, giving you a uniform glaze on every slice.
Keep the Apples Dry
Moisture is the enemy of crispness. Pat the apple slices dry with a paper towel before cooking. Any excess water will steam the apples, preventing the glaze from sticking and creating a soggy texture. If you’re using pre‑sliced apples, give them a quick rinse and pat dry. This simple step makes the difference between a crunchy and a mushy dish.
Creative Twists and Variations
This recipe is a playground. Here are some of my favorite ways to switch things up:
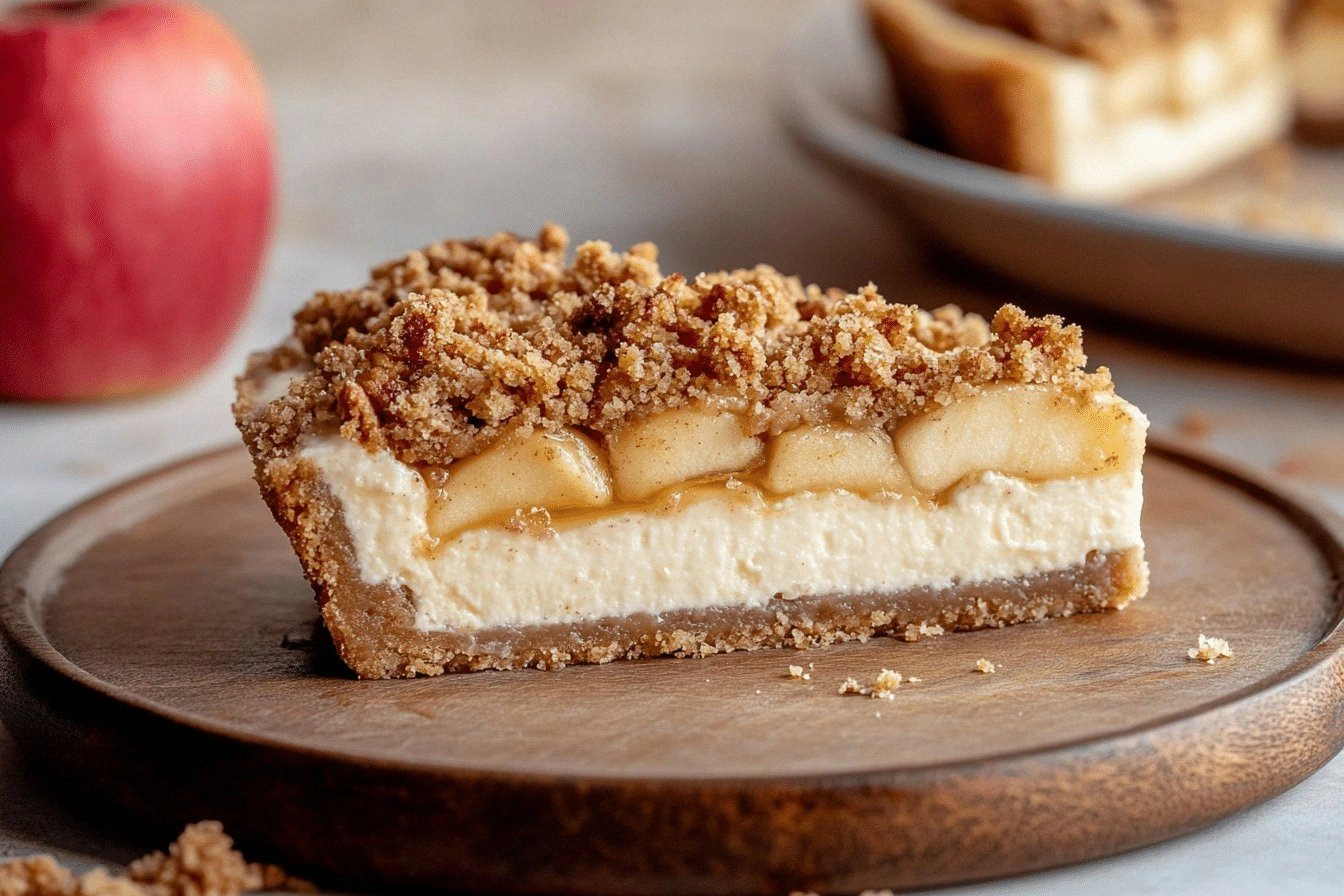
Apple Pie Crumble Topping
Sprinkle a crumble of oat flour, butter, and brown sugar over the glazed apples before serving. The crumble adds a buttery, crumbly texture that echoes classic apple pie. The oat flour provides a slightly nutty flavor, while the butter deepens the richness. This variation is perfect for a cozy evening and pairs wonderfully with vanilla ice cream.
Spiced Chai Glaze
Replace the cinnamon with a chai spice blend (cinnamon, cardamom, ginger, cloves). The chai spices add a warm, aromatic depth that pairs beautifully with the apple’s natural sweetness. This version is ideal for fall or winter gatherings. The spices also give the dish a slightly exotic twist.
Maple‑Honey Fusion
Swap the honey for an equal part maple syrup. The maple adds a subtle, caramel-like flavor that complements the apple’s tartness. This variation is great for those who prefer a slightly sweeter, less floral profile. The maple syrup also caramelizes nicely, giving a similar glossy finish.
Almond Crumble Crunch
Top the glazed apples with toasted almond slivers for an extra crunch. The almonds add a nutty flavor that balances the sweet glaze. Toast the almonds in a dry skillet until golden before adding. This variation adds a layer of texture and a touch of elegance.
Chocolate Drizzle Finish
Drizzle melted dark chocolate over the hot apple slices just before serving. The chocolate adds a rich, bittersweet contrast to the honey glaze. This indulgent twist turns the dish into a decadent dessert. The chocolate should be melted with a double boiler to avoid scorching.
Apple‑Cranberry Fusion
Add a handful of dried cranberries to the skillet during the last minute of cooking. The cranberries burst with sweet‑tart flavor and add a pop of color. This variation is especially festive for Thanksgiving or holiday gatherings. The cranberries also provide a chewy texture that contrasts with the crisp apple.
Storing and Bringing It Back to Life
Fridge Storage
Cool the glazed apple slices completely before transferring them to an airtight container. Store them in the refrigerator for up to 3 days. The glaze will firm up slightly, but a quick reheating in a skillet will restore the crispness.
Freezer Friendly
Freeze the apple slices in a single layer on a parchment‑lined tray before transferring them to a freezer bag. They can be stored for up to 2 months. When you’re ready to serve, thaw them at room temperature for 10 minutes and then reheat in a skillet.
Best Reheating Method
Reheat the frozen or refrigerated slices in a skillet over medium heat for 2–3 minutes, flipping once. Add a splash of water or apple juice before reheating to create steam, which helps the glaze stay moist and prevents it from drying out. The result will be the same crispy, caramelized finish as freshly made.