I was standing in my kitchen, staring at a pot of overcooked rice that had turned into a sticky, unappetizing mess, when my roommate burst in with a grin that could melt glaciers. “You’ve got to try this,” she whispered, holding up a sheet of nori that looked like a black flag of culinary rebellion. That moment was the spark that lit a fire in my culinary soul and forced me to search for the ultimate grilled rice ball that would make my taste buds dance. I was determined to find a recipe that would turn that disastrous batch into something that could be shared, bragged about, and devoured in seconds.
The first bite was a revelation. The rice was tender yet firm, the nori crust was crisp and caramelized, and the sesame seeds added a nutty crunch that sang in harmony with the subtle umami glaze. The aroma that filled the kitchen was a warm, smoky invitation, a promise of comfort and adventure all at once. It was the kind of flavor that makes you forget you ever had a “bad rice” day. I dare you to taste this and not go back for seconds.
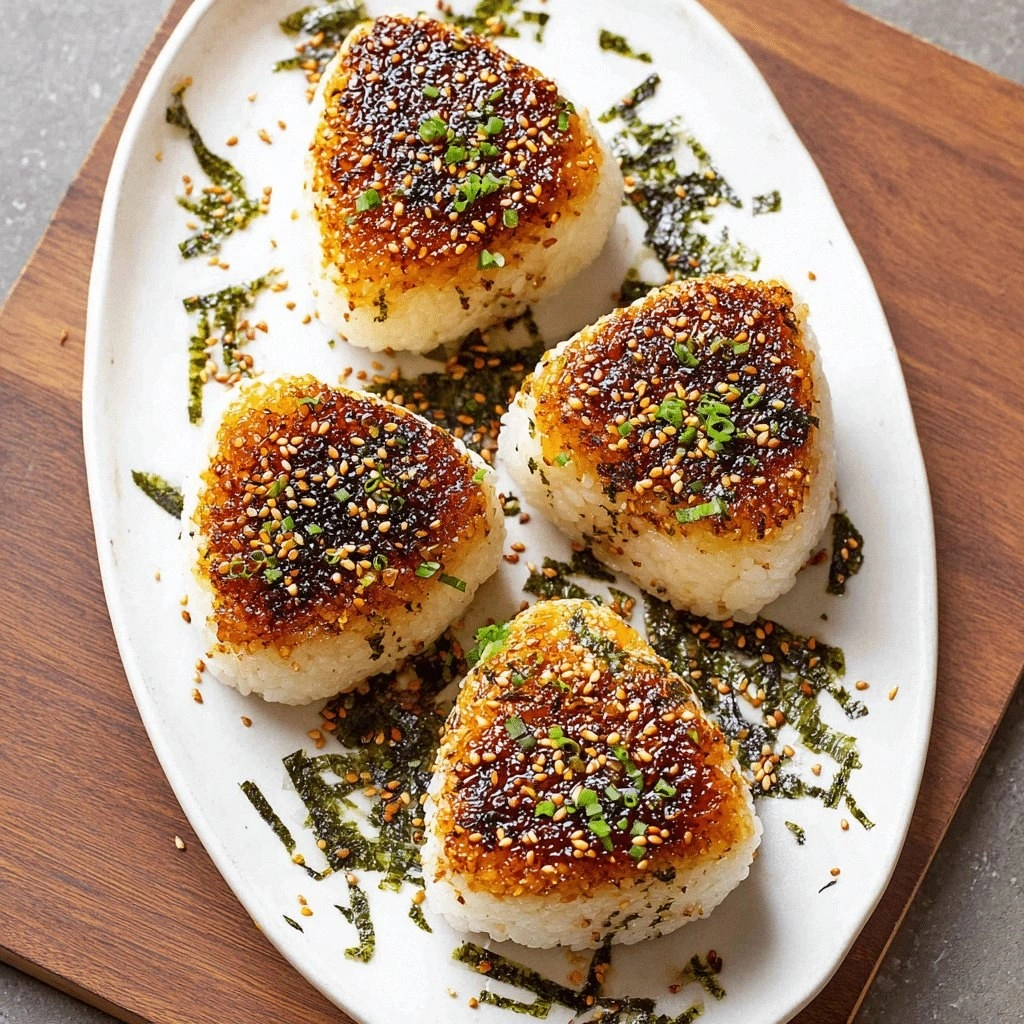
What sets this version apart from every other onigiri recipe is the meticulous balance of textures and flavors, the use of a quick grilling technique that gives it a charred edge without burning, and a secret glaze that coats the rice like velvet. It’s not just a snack; it’s a statement. I’ll be honest — I ate half the batch before anyone else got to try it. The result? A crowd that begged for the recipe, a kitchen that smelled like a Japanese festival, and a newfound confidence in my ability to turn simple ingredients into something extraordinary.
Picture yourself pulling these out of the grill, the whole kitchen smelling incredible, and watching the edges shatter like thin ice as you flip them. This is hands down the best version you’ll ever make at home. Let me walk you through every single step — by the end, you’ll wonder how you ever made it any other way.
What Makes This Version Stand Out
- Flavor Fusion: The combination of soy sauce, mirin, rice vinegar, and dashi powder creates a layered umami profile that sings against the sweet caramelized nori crust.
- Texture Contrast: The chewy interior of the rice is perfectly juxtaposed with the crisp, slightly smoky edges of the grilled nori.
- Quick Prep: From rinsing the rice to grilling the finished balls, every step takes under an hour, making it an ideal weeknight or last-minute party dish.
- Versatile Fillings: Whether you choose grilled salmon, pickled plum, or a simple cucumber salad, the base remains consistent and delicious.
- Make‑Ahead Friendly: These onigiri can be prepared a day in advance, refrigerated, and then grilled fresh, saving you precious time.
- Visual Appeal: The golden, slightly charred surface and the glossy glaze give the rice balls a restaurant‑grade look that will impress even the most discerning guests.
Inside the Ingredient List
The Flavor Base
Sushi rice is the heart of this dish, and it must be cooked to perfection. Use short‑grain Japanese rice for that sticky, cohesive texture that holds the shape. Rinse the rice until the water runs clear, then combine with 1 cup of water and a pinch of salt. The rice absorbs the flavors of the seasonings, which are added after cooking to avoid bitterness.
Soy sauce provides the salty backbone, while mirin adds a subtle sweetness that balances the savory notes. Rice vinegar gives the glaze a bright, tangy lift, and a touch of sugar ensures a gentle caramelization when the onigiri are grilled. A splash of dashi powder brings depth and the quintessential “brothy” Japanese umami that ties everything together.
The Texture Crew
Nori sheets are the secret to that coveted crispy crust. Choose medium‑thick sheets; they hold the shape and char just enough to create that satisfying crunch. Toasted sesame seeds are scattered over the rice before grilling; they add a nutty aroma and a pop of color that makes the dish feel elevated.
Optional fillings like grilled salmon or pickled plum introduce contrasting flavors and textures. Grilled salmon offers a silky, buttery mouthfeel, while pickled plum gives a bright, acidic punch that cuts through the richness. If you prefer a vegetarian option, a simple cucumber salad or a miso‑marinated tofu works beautifully.
The Unexpected Star
A small splash of sake or shochu in the glaze gives the onigiri an extra layer of aroma and a subtle kick that makes the dish feel like it’s been crafted by a seasoned chef. The alcohol evaporates during grilling, leaving behind a fragrant, slightly sweet finish that lingers on the palate.
Everything's prepped? Good. Let's get into the real action, where the magic happens.
The Method — Step by Step
- Rinse 2 cups of sushi rice under cold water until the water runs clear, then drain. Combine the rice with 2 cups of water and a pinch of salt in a rice cooker or saucepan. Cook until the rice is fluffy and all the water is absorbed. The rice should be hot but not steaming; let it sit for 10 minutes covered.
- While the rice rests, whisk together 1 tbsp soy sauce, 1 tbsp mirin, 1 tbsp rice vinegar, 0.5 tsp sugar, and 0.5 tsp dashi powder in a small bowl. This glaze will be brushed over the rice balls after they are shaped, giving them a glossy finish.
- Pat the rice gently with a damp towel to remove excess moisture. Divide the rice into eight equal portions, about 1/4 cup each. Let the portions cool to lukewarm; if they’re too hot, the onigiri will melt together.
- With wet hands (a small amount of water keeps the rice from sticking), shape each portion into a triangular or oval ball, pressing firmly but gently. If you’re using fillings, place a spoonful in the center before sealing the shape.
- Place a sheet of nori over each rice ball, pressing the edges to secure the crust. Sprinkle 2 tbsp toasted sesame seeds over the nori; this adds texture and a toasty aroma that enhances the grilled flavor.
- Preheat a cast‑iron skillet or grill pan over medium heat. Lightly oil the surface with a paper towel dipped in oil to prevent sticking. Place the onigiri on the pan, nori side down, and let them sear for 2–3 minutes until a golden crust forms.
- Flip the onigiri carefully with a spatula, then brush the exposed rice side with the glaze. Return to the pan and grill for an additional 2–3 minutes, watching for the glaze to caramelize without burning.
- Remove the onigiri from the heat, let them rest for a minute, then serve hot with a side of soy sauce or a drizzle of ponzu. The contrast of the smoky crust and the sweet glaze will leave you craving more.
That's it — you did it. But hold on, I've got a few more tricks that'll take this to another level. Stay with me here — this is worth it.
Insider Tricks for Flawless Results
The Temperature Rule Nobody Follows
Many cooks set their pans too high, causing the glaze to burn before the rice cooks through. The trick is to keep the heat at medium, then lower it slightly when you add the glaze. This allows the sugars to caramelize slowly, giving a beautiful amber color and a deep, caramelized flavor without bitterness.
Why Your Nose Knows Best
A well‑cooked onigiri will emit a subtle, nutty aroma from the toasted sesame seeds and a faintly sweet scent from the glaze. If the scent is overwhelmingly sharp or metallic, you’ve either overcooked the rice or used too much dashi. Trust your nose, and adjust the seasoning accordingly.
The 5-Minute Rest That Changes Everything
After grilling, let the onigiri rest for exactly five minutes. This resting period allows the steam to redistribute, softening the outer crust slightly and making the rice inside perfectly moist. Skipping this step can leave the edges too hard and the interior dry.
Grill vs. Pan: The Ultimate Showdown
While a grill pan gives you a smoky flavor, a real charcoal grill can elevate the dish to a whole new level. The high heat and direct flame create a char that mimics a Japanese yakitori experience. Just remember to keep the grill lid slightly open to control flare‑ups.
The Secret Ingredient That Elevates
A splash of shochu or sake in the glaze adds an aromatic depth that feels almost ceremonial. It’s a subtle touch that most home cooks overlook, but it transforms the dish from ordinary to extraordinary. A teaspoon per batch is enough to notice the difference.
Creative Twists and Variations
This recipe is a playground. Here are some of my favorite ways to switch things up:
Spicy Sriracha Mayo
Mix mayo with a generous splash of sriracha and a pinch of lime juice. Use it as a filling to give the onigiri a spicy kick that pairs beautifully with the smoky crust.
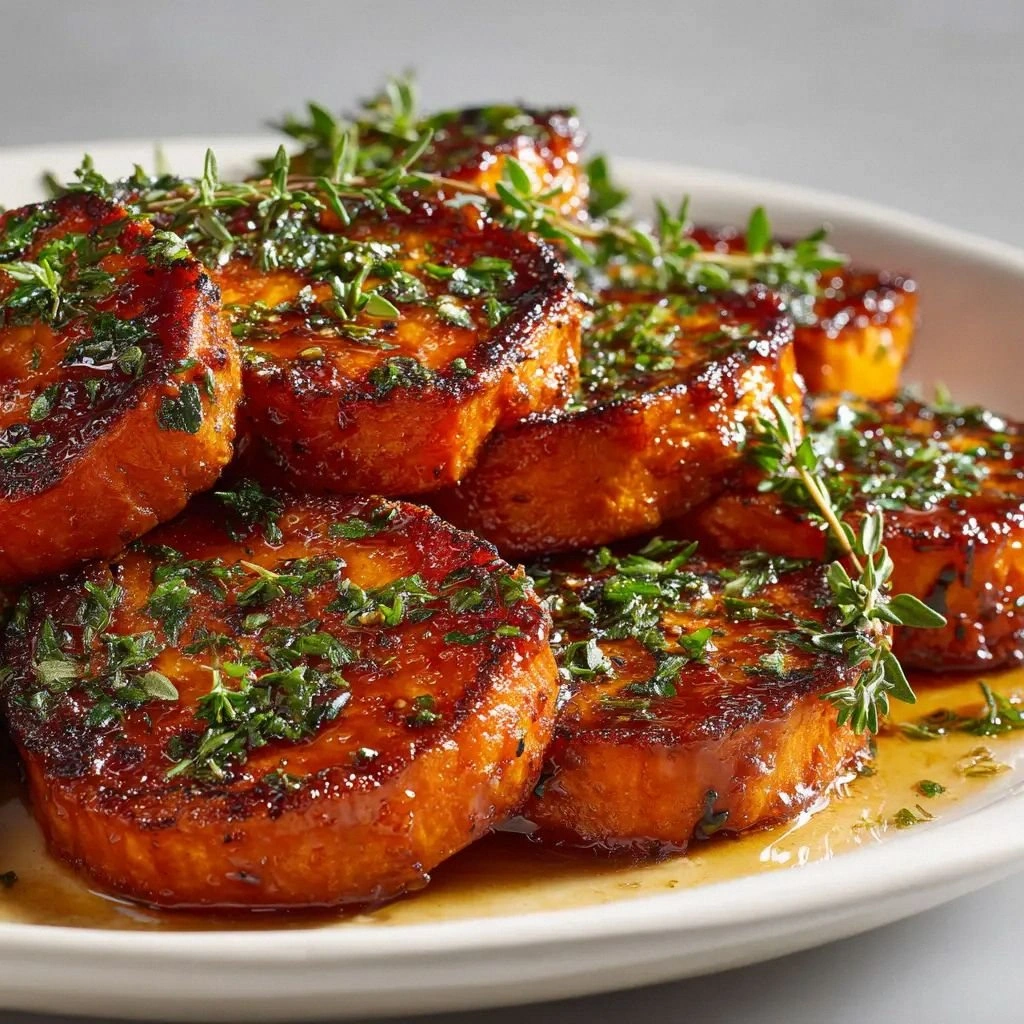
Miso‑Glazed Sweet Potato
Roast diced sweet potato until caramelized, then mix with a light miso glaze. The sweet potato adds a comforting sweetness that complements the umami glaze.
Citrus‑Infused Tuna
Combine canned tuna with a drizzle of sesame oil, a splash of yuzu juice, and a sprinkle of sesame seeds. The citrus brightens the flavor profile and adds a refreshing note.
Vegetarian Mushroom Umami
Sauté sliced shiitake mushrooms with soy sauce and a dash of mirin. Their earthy depth makes them an excellent vegetarian filling that rivals any fish.
Tropical Pineapple & Coconut
Grill pineapple slices until caramelized, then mix with shredded coconut. The tropical sweetness offers a delightful contrast to the savory glaze.
Storing and Bringing It Back to Life
Fridge Storage
Store cooked onigiri in an airtight container in the refrigerator for up to 2 days. Keep the glaze separate until you’re ready to reheat, as it can become sticky if left on the rice too long.
Freezer Friendly
Wrap each onigiri individually in plastic wrap, then place them in a freezer bag. They’ll stay fresh for up to 3 months. When you’re ready, thaw overnight in the fridge before reheating.
Best Reheating Method
Reheat on a skillet over medium heat, brushing the glaze onto the rice side. Add a tiny splash of water to create steam, then cover the pan for 2 minutes. This trick restores the moisture and keeps the crust crispy.