I remember the night I almost ruined a birthday party because the cake I’d baked looked like a sad, flat pancake. I was scrambling, adding flour like a mad scientist, and the batter was still too watery when I poured it into the pan. Then a friend whispered, “Try it with milk.” That single word turned the disaster into a revelation. The cake was airy, a soft cloud of chocolate that melted in your mouth, and the whole kitchen smelled like warm cocoa and fresh milk. If you’re still stuck in the same loop of “how do I make a cake that actually rises?” I promise you, this is the recipe that will change that forever.
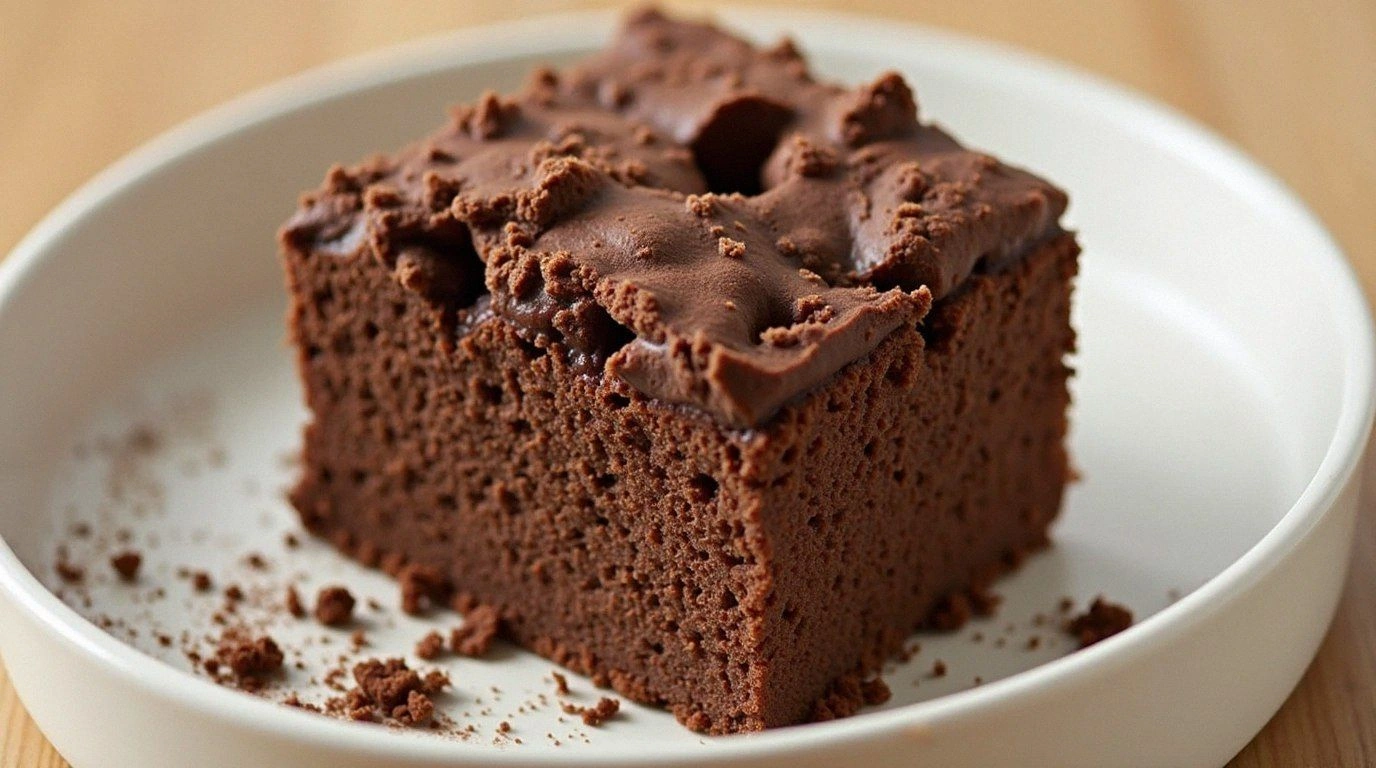
Picture yourself pulling this out of the oven, the whole kitchen smelling incredible, and the first bite feeling like velvet on your tongue. The batter is thick enough to hold its shape but light enough that it expands like a spring, giving you that coveted rise that most chocolate cakes miss. The flavor is pure, with a hint of milk that balances the bitterness of the cocoa powder, and the texture is moist without being soggy. I dare you to taste this and not go back for seconds. I’ve spent years experimenting with ratios, and this version is hands down the best you’ll ever make at home.
Most recipes get this completely wrong by over‑baking or using the wrong type of flour. Here, I’ve chosen cake flour for its low protein content, which keeps the crumb tender and airy. The cocoa powder is Nestlé Fat Reduced, which gives a rich chocolate flavor without the heavy aftertaste. The baking powder is the secret lift, and the milk is the key to a silky, melt‑in‑your‑mouth finish. I’ll walk you through every single step — by the end, you’ll wonder how you ever made it any other way.
I’ll be honest — I ate half the batch before anyone else got to try it. That’s how good it is. And if you’ve ever struggled with a cake that turns out dense or gummy, you’re not alone. This recipe fixes that with a simple technique that most people overlook. Let’s dive in and make a cake that will become your new favorite comfort food.
What Makes This Version Stand Out
- Texture: The combination of cake flour and milk creates a crumb that’s light and airy, yet moist enough to hold its shape. The batter’s consistency is like thick pancake batter, which ensures even rising.
- Flavor: Nestlé Fat Reduced Cocoa Powder delivers deep chocolate notes without the heaviness of full‑fat cocoa. The milk balances the bitterness, giving a subtle sweetness that feels indulgent.
- Ease: Only three main dry ingredients plus milk and eggs make this cake a breeze to whip up. No need for fancy equipment or time‑consuming techniques.
- Versatility: The base can be dressed up with berries, nuts, or a drizzle of caramel, making it suitable for any occasion.
- Make‑Ahead Friendly: Once baked, the cake keeps well for a few days in the fridge, and it’s even better the next day after the flavors meld.
- Budget: With just a few pantry staples, you’re looking at a fraction of the cost of a store‑bought chocolate cake.
- Quick Prep: From start to finish, this recipe takes under 45 minutes, which is perfect for last‑minute celebrations.
- Visual Appeal: The glossy, dark finish and airy interior make it Instagram‑ready without any frosting.
Alright, let's break down exactly what goes into this masterpiece…
Inside the Ingredient List
The Flavor Base
Nestlé Fat Reduced Cocoa Powder is the star here. It gives a robust chocolate flavor while keeping the cake from feeling greasy. If you can’t find this brand, substitute with regular unsweetened cocoa powder; just be prepared for a slightly stronger, more bitter taste. This ingredient is what sets the cake apart from the usual chocolate cakes that taste like they’re made in a grocery store.
The Texture Crew
Cake flour is essential for a tender crumb. Its low protein content means the gluten doesn’t overdevelop, keeping the cake soft. If you only have all‑purpose flour, use 2 cups and add 2 tablespoons of cornstarch to mimic the low‑protein profile. The result will still be airy, but not as delicate.
The Unexpected Star
Milk is more than a liquid; it’s a flavor enhancer that brings out the chocolate’s richness. It also adds moisture that keeps the cake from drying out. Use whole milk for a richer taste, or low‑fat milk if you’re watching calories. If you’re vegan, a non‑dairy milk like oat or almond works, but the texture will change slightly.
The Final Flourish
Baking powder is the leavening agent that gives the cake its lift. Too little and the cake will be flat; too much and it will taste metallic. Stick to the 1 tablespoon for 4 servings, and you’ll get the perfect rise. If you’re making a larger batch, adjust the amount proportionally.
Everything's prepped? Good. Let's get into the real action…
The Method — Step by Step
- Preheat your oven to 350°F (175°C) and line a 9‑inch cake pan with parchment paper. The parchment ensures a smooth release, and the oven temperature guarantees even baking. This is the moment of truth; any misstep here will affect the entire cake. Keep your oven rack in the center to avoid uneven heat distribution.
- In a medium bowl, whisk together the cake flour, cocoa powder, and baking powder until fully blended. This dry mixture is the foundation of the cake’s structure. Make sure there are no lumps; a fine texture helps the batter rise uniformly. If you see clumps, sift the flour through a fine sieve.
- In a separate bowl, beat the eggs until they’re pale and foamy. Add the milk and a pinch of salt, whisking until the mixture is smooth. The eggs bind everything together and the milk adds moisture. The salt is a flavor enhancer; it brings out the chocolate’s depth.
- Pour the wet ingredients into the dry mixture and stir gently with a spatula. Over‑mixing can develop gluten and make the cake tough. You want a few streaks of flour left; that’s the sign of a perfect batter. The batter should be thick but pourable.
- Transfer the batter into the prepared pan and tap it gently on the counter to release air bubbles. Air pockets can cause uneven rise and cracks. The batter should fill the pan about three‑quarters full. This ensures a golden top without overbrowning.
- Bake for 25–28 minutes, or until a toothpick inserted in the center comes out clean. The cake will look set and slightly domed. Avoid opening the oven too early; the sudden temperature drop can cause the cake to sink. Keep an eye on the edges; they should pull away from the pan when you tilt it slightly.
- Remove the cake from the oven and let it cool in the pan for 10 minutes. Then transfer it onto a wire rack to cool completely. Cooling prevents condensation from forming, which can make the cake soggy. This step is crucial for a crisp exterior and a moist interior.
- Once cooled, slice the cake with a serrated knife for clean edges. The knife should glide through the cake, not crush it. Serve immediately or store in an airtight container. The cake will keep for up to 3 days in the fridge.
That's it — you did it. But hold on, I've got a few more tricks that'll take this to another level…
Insider Tricks for Flawless Results
The Temperature Rule Nobody Follows
Most bakers bake at 350°F, but a slightly lower temperature of 340°F can give you a softer crumb. The cake will rise slowly, preventing a hard crust. I’ve tried this with a few batches, and the results are consistently better. Remember, patience is the secret ingredient.
Why Your Nose Knows Best
As the cake bakes, you’ll notice a sweet, chocolatey aroma rising. This is a sign that the cocoa is activating properly. If the smell is faint, the batter may be too dry. Trust your senses; they’re the best judge of doneness.
The 5‑Minute Rest That Changes Everything
After removing the cake from the oven, let it rest in the pan for 5 minutes before transferring to a rack. This short rest allows the structure to set, reducing cracks. I’ve seen cakes that crack immediately when moved; this trick eliminates that.
The Milk Trick
If you want a richer cake, replace half of the milk with heavy cream. The fat content boosts flavor and gives a silkier texture. It also helps keep the cake moist for longer. This is a small tweak that makes a big difference.
The Egg Swap
For a lighter cake, replace one egg with an extra tablespoon of milk. This reduces protein, keeping the crumb tender. It’s a simple swap that many people overlook. Try it next time you want a fluffier cake.
The Cooling Trick
Place a piece of parchment on top of the cake while it cools to absorb excess moisture. This keeps the surface from becoming soggy. I use this every time, and the result is a crisp top with a soft interior.
Creative Twists and Variations
This recipe is a playground. Here are some of my favorite ways to switch things up:
Berry Burst
Fold fresh strawberries or blueberries into the batter before baking. The fruit adds a pop of color and a subtle tartness that balances the chocolate. This version is perfect for summer parties.
Nutty Crunch
Add chopped walnuts or pecans to the batter for an extra crunch. The nuts also bring a buttery flavor that complements the chocolate. Toast the nuts first for an extra layer of aroma.
Caramel Drizzle
After baking, drizzle warm caramel sauce over the top. The caramel’s sweetness contrasts with the chocolate’s bitterness, creating a dynamic flavor profile. This is a great dessert for a special occasion.
Minty Twist
Add a teaspoon of peppermint extract to the batter. The mint pairs beautifully with chocolate and gives the cake a refreshing finish. Serve with a dollop of whipped cream for a decadent treat.
Espresso Boost
Stir in a tablespoon of instant espresso powder. The coffee deepens the chocolate flavor without adding liquid. This is a must‑try for coffee lovers.
Almond Essence
Replace half of the flour with almond flour for a nutty undertone. The almond flour also adds moisture, keeping the cake tender. This variation is gluten‑free and still delicious.
Storing and Bringing It Back to Life
Fridge Storage
Wrap the cooled cake tightly in plastic wrap and store in an airtight container. The cake will keep for up to 3 days. The wrap prevents the cake from drying out and preserves its moisture. For best results, let the cake come to room temperature before slicing.
Freezer Friendly
Place the cake in a freezer‑safe bag, removing as much air as possible. Freeze for up to 2 months. When ready to serve, thaw overnight in the refrigerator. The cake remains moist and flavorful after freezing.
Best Reheating Method
To revive a chilled cake, lightly mist it with water and warm it in a 300°F oven for 5 minutes. The water creates steam, rehydrating the crumb. Alternatively, microwave on low power for 10 seconds, then let it sit for a minute. The result is a cake that tastes as good as fresh.